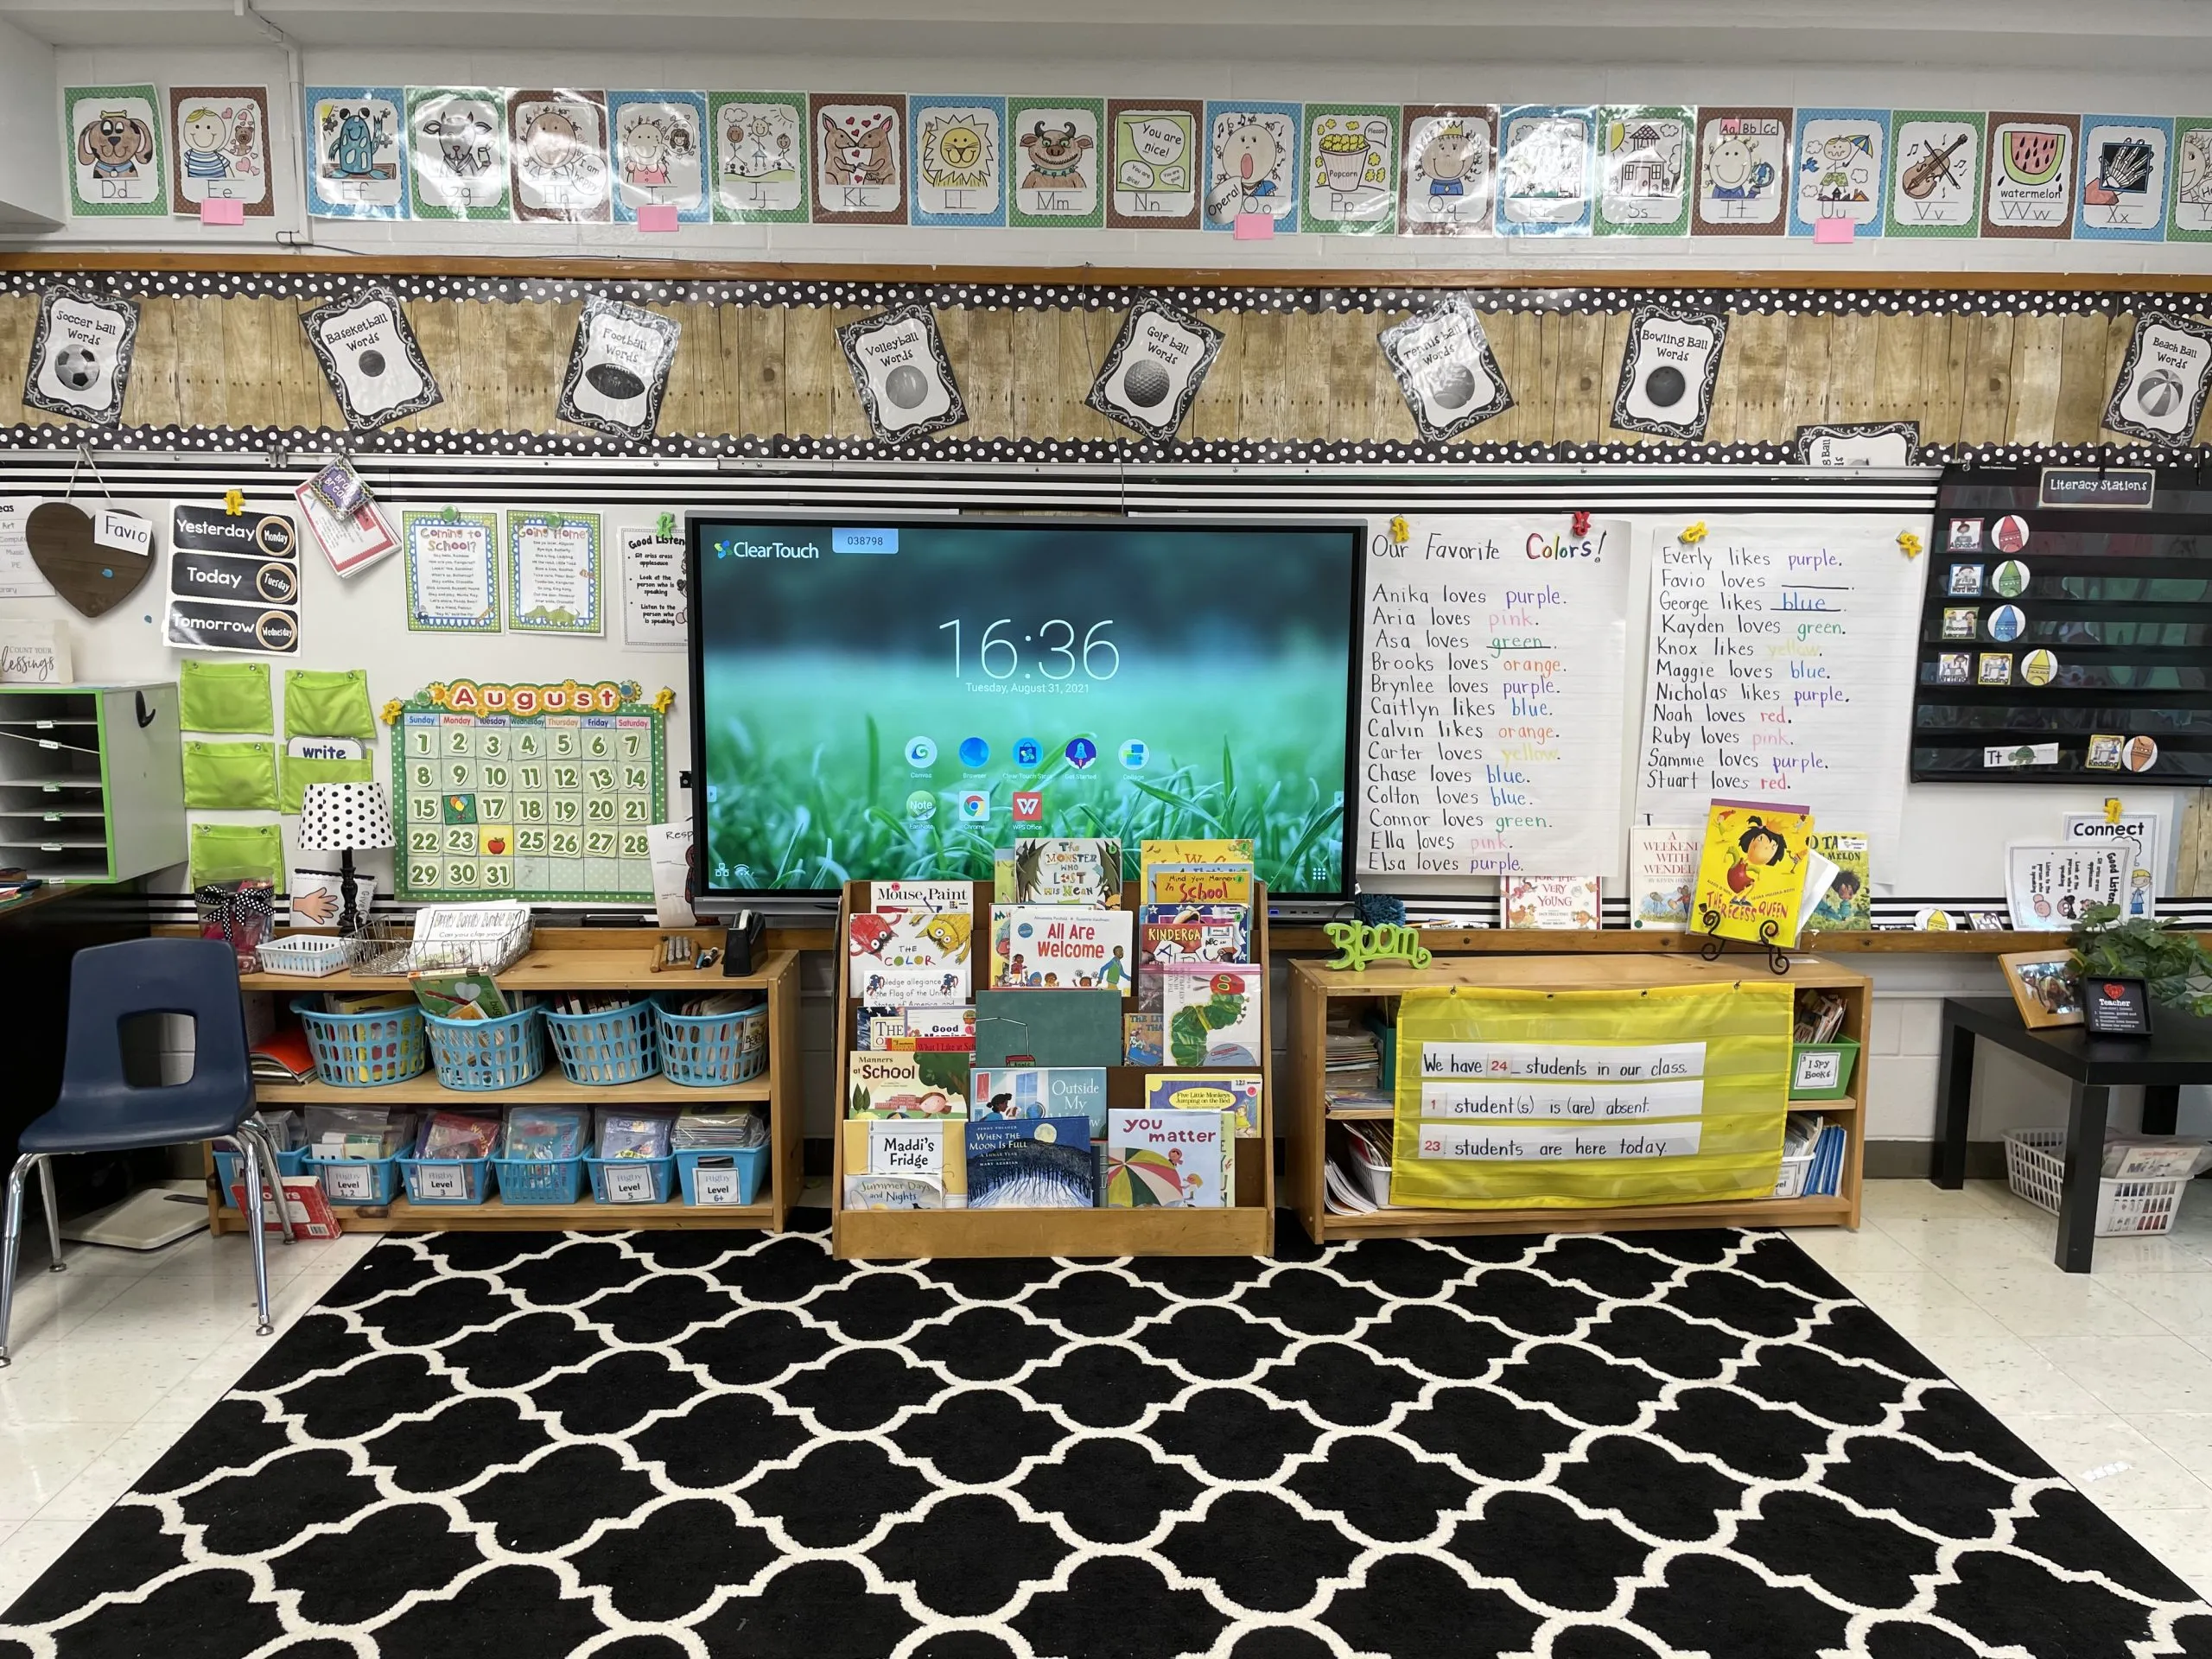
Classroom Setup Made Simple: Organize Your Kindergarten Classroom by Creating Learning Zones
Setting up your kindergarten classroom is one of my favorite parts of back-to-school season, but it can also feel overwhelming. Between moving furniture, unpacking supplies, decorating bulletin boards, and preparing learning materials, it’s easy to wonder where to begin.
Over the years, I’ve discovered that the easiest way to tackle classroom setup is to stop thinking about the room as one giant project. Instead, I break it into smaller, purposeful learning spaces or classroom zones.
This simple strategy makes planning easier, keeps materials organized, and creates a classroom that works for both you and your students from the very first day.
Why Classroom Zones Work
Kindergarten classrooms naturally lend themselves to different types of learning. Each area of the room serves a purpose, and when everything needed for that activity is stored nearby, the classroom runs much more smoothly.
Instead of asking, “Where should I put everything?” ask yourself:
“What activities happen in my classroom?”
Once you answer that question, the layout begins to come together.
Start With a Classroom Map
Before moving a single piece of furniture, sketch a simple floor plan of your classroom.
It doesn’t have to be fancy, even a quick hand drawing or a PowerPoint slide with basic shapes works perfectly.
As you look at your empty room, think about traffic flow, student movement, and how each area will be used throughout the day.
Classroom Zones to Consider
Every classroom is different, but these are some of the areas that many kindergarten teachers find helpful:
- Arrival & Backpack Area
- Morning Meeting Space
- Whole Group Teaching Area
- Small Group Teacher Table
- Reading Library
- Literacy Centers
- Math Center
- Writing Center
- Art & Creativity Station
- Classroom Supplies
- Technology Area
- Student Storage
- Teacher Workspace
- Classroom Management & Materials
You may not need every zone, and that’s okay. Some areas overlap, too. The goal is to create spaces that support the routines you use every day.
Organize Each Zone Separately
Rather than trying to organize your entire classroom at once, focus on one area at a time.
For each zone, ask yourself:
- What activities happen here?
- What materials are used every day?
- What should students be able to access independently?
- What can be stored somewhere else?
When everything has a designated home, cleanup becomes faster and students quickly learn where items belong.
Think About Student Independence
One of the biggest benefits of organizing by zones is that it encourages independence.
Use:
- clearly labeled bins
- picture labels for young learners
- open shelving when possible
- color-coded materials
- easy-to-reach supplies
The less students have to ask where something belongs, the more instructional time you gain.
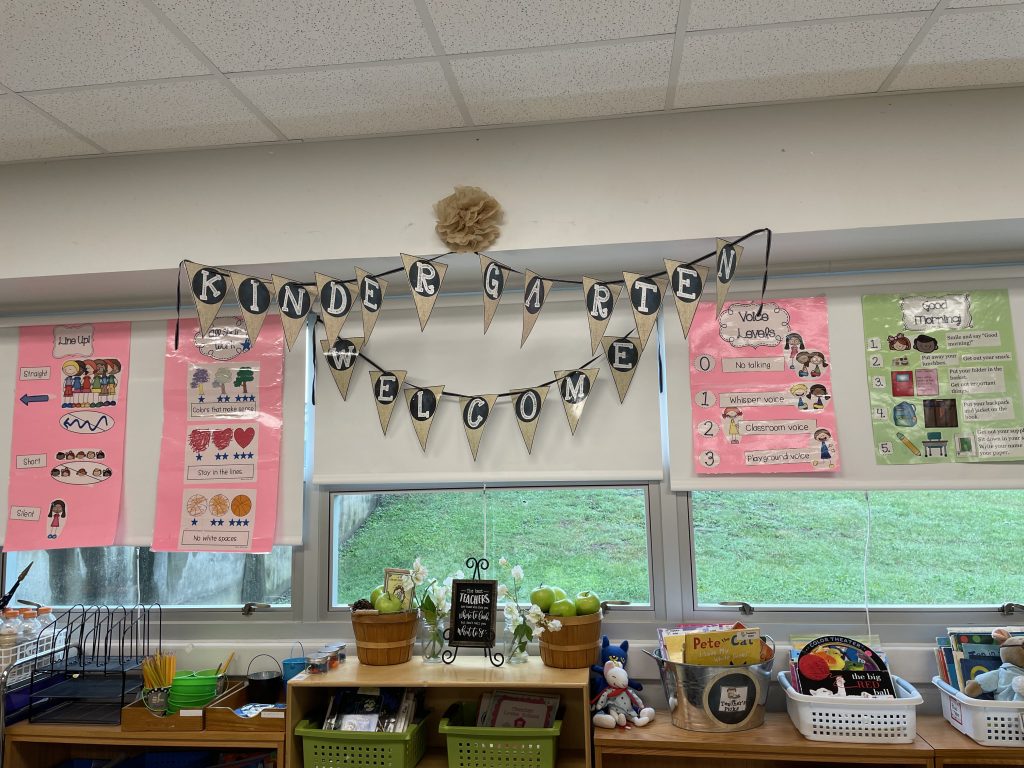
Remember: Your Classroom Doesn’t Have to Be Perfect
Your classroom setup will continue to evolve after school begins and that’s completely normal.
Pay attention to areas that become crowded, supplies that are difficult to access, or routines that aren’t working. Small adjustments throughout the first few weeks can make a huge difference.
Give yourself permission to improve your classroom one zone at a time.
Final Thoughts
Creating a classroom that feels organized doesn’t require expensive furniture or elaborate décor. It simply requires a thoughtful plan.
By dividing your room into functional learning zones, you’ll create an environment that’s easier to manage, supports student independence, and helps your days run more smoothly.
Sometimes the best classroom organization strategy isn’t doing more, it’s organizing with purpose from the very beginning.
Free Printable
To help you plan your own classroom layout, download my Classroom Setup Planner, where you can sketch your room, identify your learning zones, and make a checklist before you ever move a desk.
Happy organizing, and here’s to a smooth start to the school year!